12 CapCut Editing Tips | Edit videos in 2024
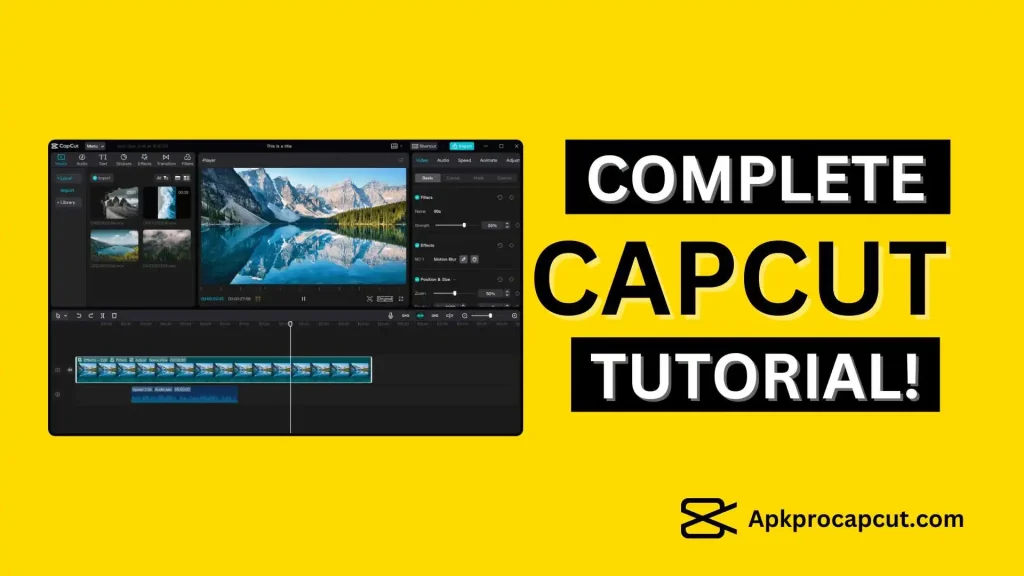
We have a total of 3 years of video editing experience, and we have used CapCut for our ten professional projects. In this blog, we will share all our Capcut editing tips with you through which you can create engaging videos.
The CapCut app offers the 12 most effective tips for editing videos. CapCut is owned by Bytedance Pte. Ltd., which also owns TikTok. It makes CapCut an official video editing platform, and it has many different video editing features that allow you to edit videos for your social media platforms.
Remove CapCut Logo
Too many CapCut users are confused about How to remove the CapCut logo from their edited videos. There are three simple and easy ways to export your videos without any watermark or CapCut logo.
Here is how:
1st Method:
Suppose you want to remove the CapCut logo clip that is attached to the end of your video automatically. If you want to remove that, select the attached part from the video timeline. You can get it by sliding the video until you find the CapCut logo clip. Select that logo clip and press the delete icon. By doing this, you can get rid of the additional logo part of CapCut.
2nd Method:
The first method is applied only for the CapCut logo, which appears at the end of the video, but if you are looking to remove the watermark when you use a CapCut template. It can be done when you have finished editing your video and have clicked on the export button. A pop-up shows up with two options, choose the options mentioned below:
1: Export without a Watermark
2: Click on Export without a watermark to download the video without any watermark.
3rd Method:
If the watermark problem is still interrupting you, there is only one way to get rid of it: Purchase the CapCut Pro version. To do this, you have to buy a subscription from the CapCut app. But if you are not interested in making a purchase or want a pocket-friendly solution, you can download the free CapCut mod APK from our site. This app will include all the premium features that are unlocked.
CapCut Editing Tips for Overlay
The overlay function adds extra images or video parts without changing the original video; it’s just like adding more features to your video. By doing this, you can enhance your video appeal and make it more interesting by showing two different scenes in a single video. An overlay can easily be added using CapCut.
Here are the steps:
CapCut Keyframes
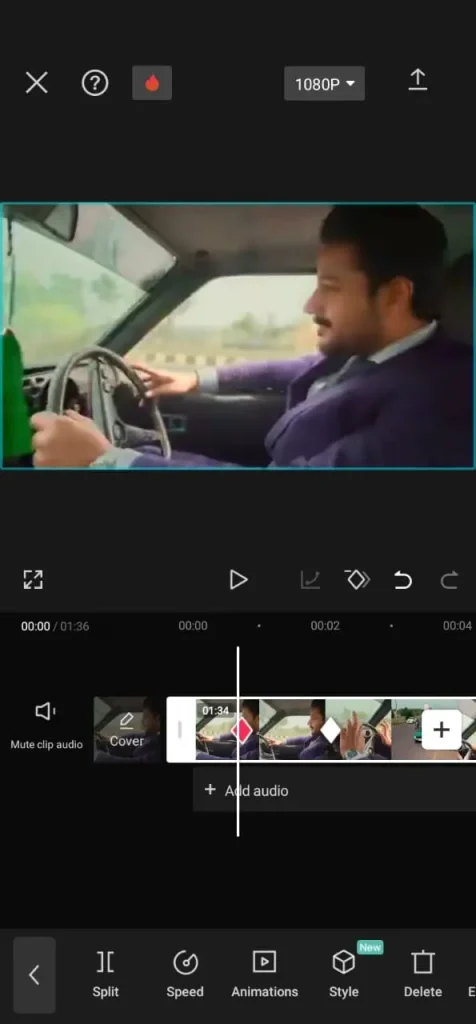
Keyframes in CapCut refer to new points we can add to the video timeline. By using CapCut’s keyframes, we can add different texts, shapes, or things and adjust their time according to our needs. We can’t only add text shapes but can also make changes in position or rotation.
Follow these steps:
Add/ Move Text
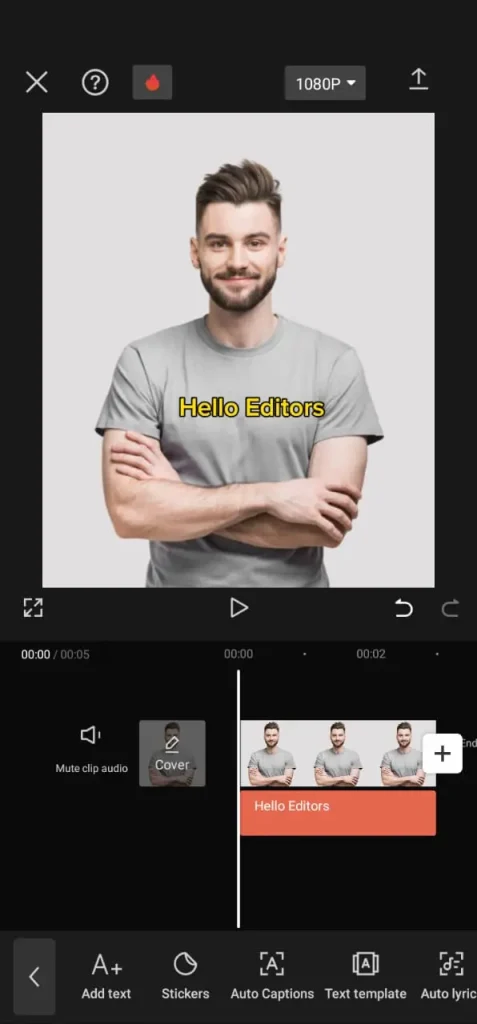
CapCut allows users to add desired text to their videos. This feature gives users access to reach a wider audience despite any language barrier. Adding a text heading in the video will help viewers understand what they are watching.
Different platforms play the video automatically without any sound or voice so, with clear headings present in the video. People will understand it without any sound. You can also add lyrics on your videos, by using templates.
Follow this Guide:
Auto Captions
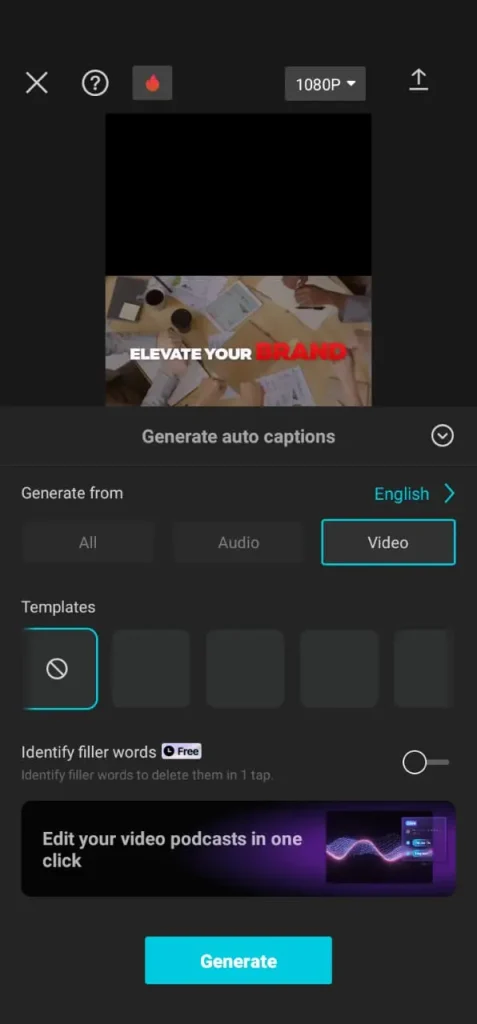
Captions are necessary everywhere, and video marketing is one of the best strategies for reaching a wider audience. If you are having trouble adding captions to your video, consider CapCut, which offers automated captions without a subscription.
Here are the steps:
CapCut Chroma Key
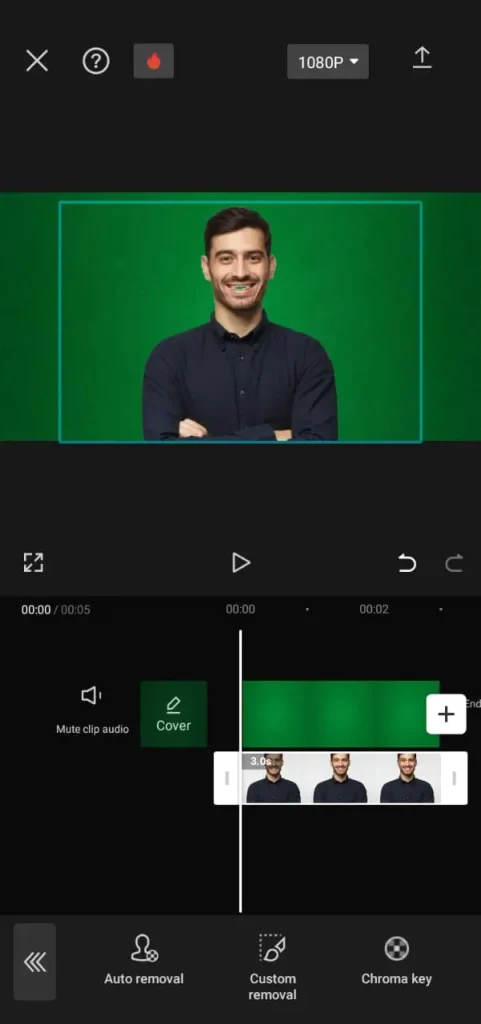
CapCut offers a Chroma key feature that allows users to remove the already-chosen video color (most probably green), make it transparent, and then add a different image or video behind it. The color I have seen most in the chroma key feature is green. This feature allows users to overlay their video or static image over the green screen.
Follow this guide:
Zoom-In Effects
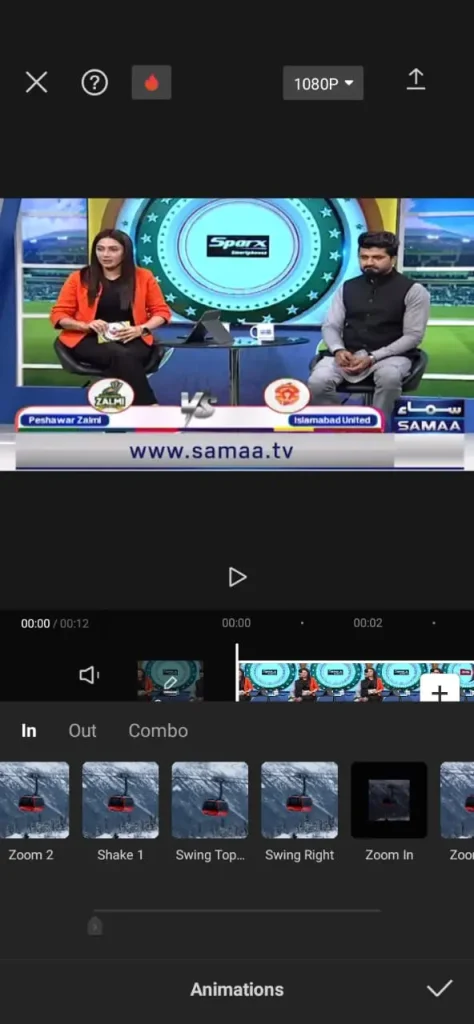
The zoom effect is one of the most essential effects while editing videos. Editing a video is crucial, and doing it precisely according to your needs requires proficient skills. While editing, it is necessary to understand which part of your video requires an extra zoom. Because we only zoom in on that part of the video, we want people to give it more focus.
Many video editors choose CapCut over other video editing apps. Because CapCut provides more facilities to its users and is one of the famous editing apps.
Here is how you can Zoom-in your videos:
Blur/ Mask
As we all know, the world is growing, and the importance of social media is increasing day by day. Whether it is an influencer or business, everything requires now to be online. Video editing is one of the most effective ways to shine your online presence, and blurring is one of the crucial aspects.
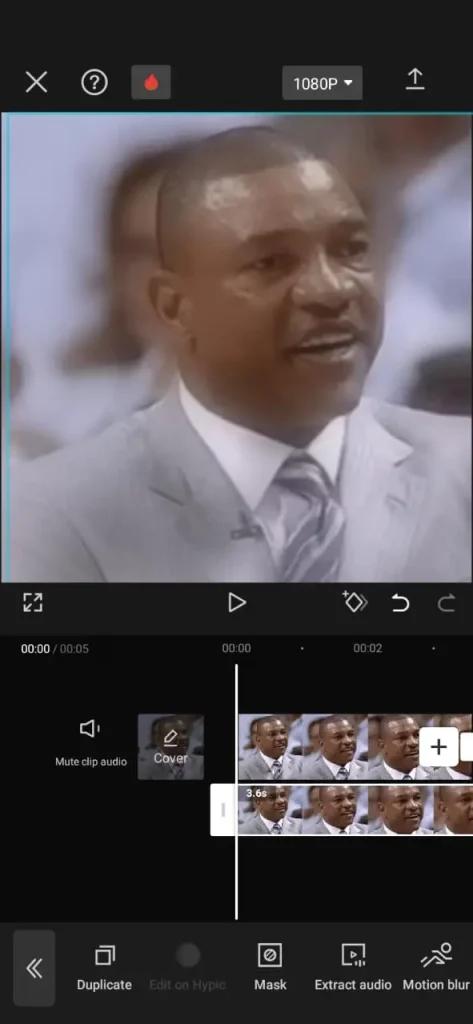
What is blurring? It means that if anybody is not interested in showing his face or any part of the video. So, he can use the CapCut blur effect because it is simple and easy to master when blurring different parts of a video. It is essential to have proper know-how on how to blur your videos because it is one of the best ways to protect privacy in video. Now, let’s understand how to be a master in blurring using CapCut.
Follow these steps to add Blur:
Transitions
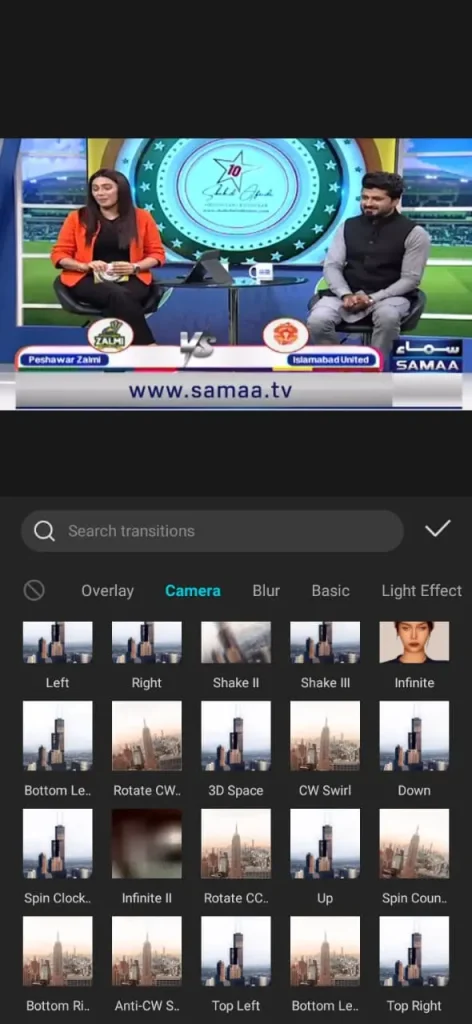
We have all seen videos in which one video is attached seamlessly to another. This trick makes the video more interesting. The process of securing one video clip to another in the same video is known as transitions.
Many video editors use transitions in their videos because they end the conflict of short video parts. Instead of those mini parts, transitions allow users to attach those short parts and make a single seamless video without any hassle. Many video editing software allow users to use transitions. CapCut, due to its popularity, is among the most chosen video editing applications.
Add Transitions to your videos by following these steps:
Trimming
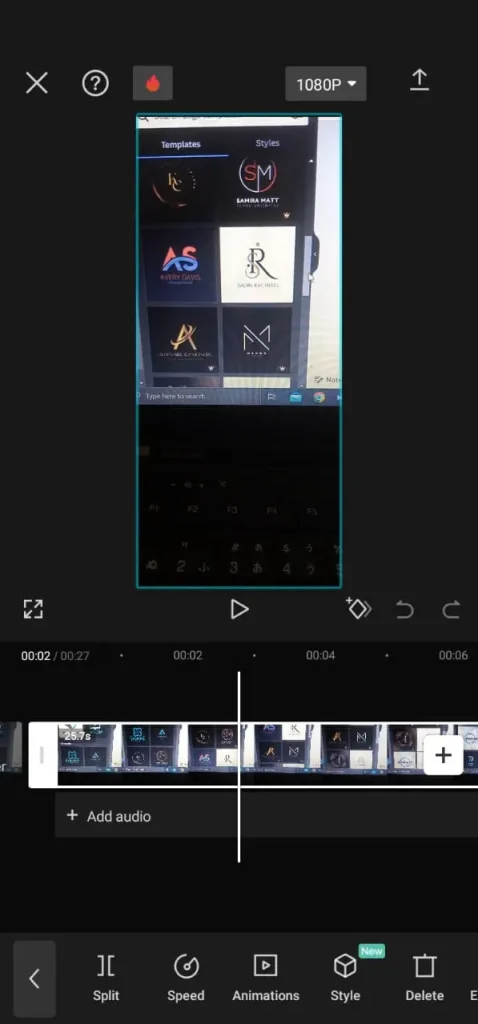
When video editing, there are specific clips or scenes that we don’t want users to see. To remove those parts of a video, we use trimming. Trimming allows us to remove all the unnecessary parts in any video without interrupting the original video.
This feature helps video editors edit their videos well and make a more focused video without any unnecessary content or scenes. The most common video editing application for trimming is CapCut due to its user-friendly interface and ease of use.
Trim your videos by following this:
Video Speed
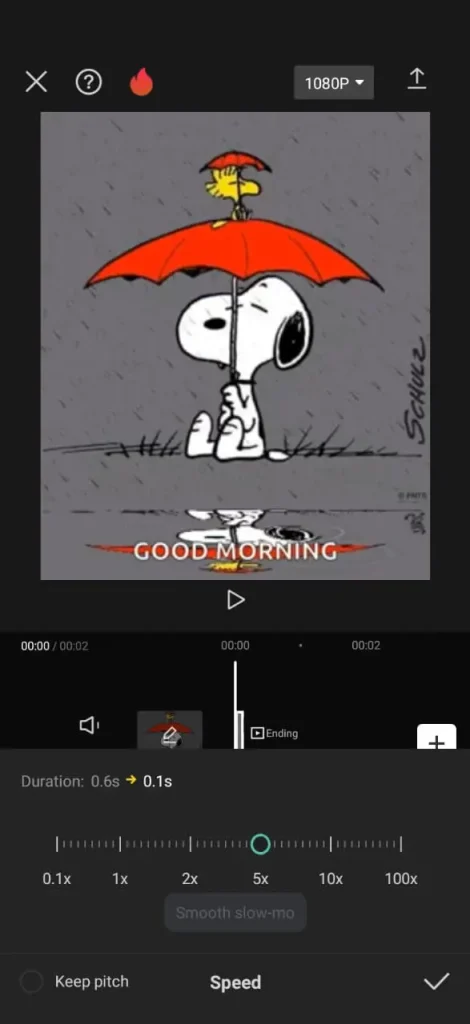
Most of the video editors struggle to adjust their video speed. Because it is crucial to understand which part of the video should be played faster or which part is best suited to play in slow-mo, this action is best performed by using a reputable video editing application named CapCut. By increasing the necessary speeds and slowing down the interesting or required parts, we can make our video super exciting and more professional.
Want to adjust your video speed? Here is how you can do it:
Stickers & Emojis
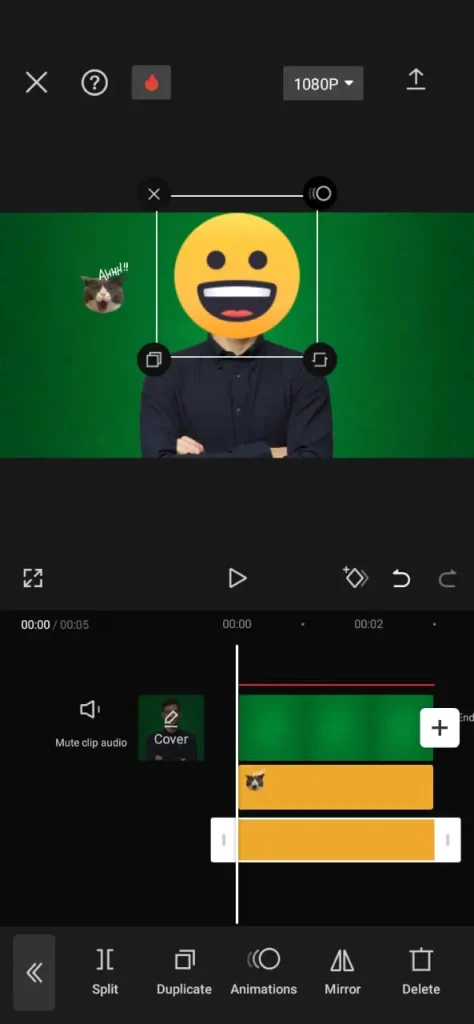
CapCut, the famous video editing application, comes with a variety of built-in stickers and emojis. You can add any sticker or emoji that suits your video best and makes it more appealing and catching. Stickers or emojis are primarily used in the context of funny content.
People use different laughing emojis in their videos, which attracts users more. CapCut makes it much easier to add preferred stickers or emojis to your videos, and beginners are also masters at this. However, adding a proper emoji or sticker requires some professional skills, but beginners can also do this.
Add Stickers/Emojis to your Videos:
Conclusion
In this advanced world, video editing is becoming a popular trend, and to stay ahead of this trend, it’s better to learn video editing yourself. After reading these helpful tips, I can ensure that all those beginners or professionals who are lacking in using CapCut will become pro CapCut editors.
Whether they are struggling to use an advanced feature like Chroma key or an essential feature like adding text, now the ball is in your coat.
